

Welcome to this HTML forms tutorial. Forms are how websites collect information from users — logins, contact forms, surveys, checkout pages, everything.
This is Tutorial 5 of 8 in our complete HTML series on Tutorials Ocean’s HTML category. If you missed it, check out Tutorial 4: HTML Tables first.
Basic Form Structure
Every HTML forms tutorial starts with the form tag itself, which wraps all the input fields together.
<form action="/submit" method="post">
    <label for="name">Name:</label>
    <input type="text" id="name" name="name">
    <button type="submit">Submit</button>
</form>| Attribute | Purpose |
|---|---|
| action | The URL where form data gets sent |
| method | How data is sent — “get” or “post” |
| name | Identifies the field when data is submitted |
Labels: Don’t Skip Them
A label connects text to an input field using the for and id attributes. This is one of the most skipped steps in beginner code, but it matters for accessibility and usability.
<label for="email">Email:</label>
<input type="email" id="email" name="email">
When for and id match, clicking the label text automatically focuses the input — try it yourself once you build the practice exercise below.
Common Input Types
The type attribute changes how an input field behaves and what kind of data it expects. This is the core of any HTML forms tutorial.
<input type="text">
<input type="email">
<input type="password">
<input type="number">
<input type="date">
<input type="checkbox">
<input type="radio">
<input type="file">| Type | Use Case |
|---|---|
| text | General single-line text input |
| Validates email format automatically | |
| password | Hides typed characters |
| number | Only accepts numeric values, shows a spinner |
| date | Shows a native date picker |
| checkbox | Multiple selections allowed |
| radio | Only one option selectable per group (same name) |
| file | Lets users upload a file |
Textarea, Select & Button
Not every field is a simple input. For longer text, dropdowns, and actions, HTML gives you dedicated tags.
<textarea rows="4" cols="30" placeholder="Write your message"></textarea>

<select name="course">
    <option value="html">HTML</option>
    <option value="css">CSS</option>
    <option value="js">JavaScript</option>
</select>

<button type="submit">Send</button>
<button type="reset">Clear</button>- <textarea> — multi-line text input, good for messages or comments
- <select> with <option> — creates a dropdown menu
- <button> — type=”submit” sends the form, type=”reset” clears it
Validation Attributes
HTML5 can validate form data in the browser itself, without any JavaScript. This is a favorite topic in any modern HTML forms tutorial because it saves so much extra code.
<input type="text" required>
<input type="text" minlength="3" maxlength="20">
<input type="number" min="1" max="100">
<input type="text" placeholder="Enter your name">| Attribute | Purpose |
|---|---|
| required | Field cannot be left empty |
| minlength / maxlength | Sets minimum and maximum text length |
| min / max | Sets minimum and maximum numeric value |
| placeholder | Shows light gray hint text inside empty field |
For the full official reference, check the MDN documentation on the input element.
Practice Exercise
Open your index.html file from Tutorial 4 and add a new “Contact Me” section.
Requirements:
- Add an <h2> titled “Contact Me”
- Create a <form> with proper labels for every field
- Add a text input for Name, marked as required
- Add an email input for Email, marked as required
- Add a <select> dropdown asking “How did you find this site?” with at least 3 options
- Add a <textarea> for a message, with a placeholder
- Add a submit button
Bonus challenge: Add a checkbox for “Subscribe to newsletter” and a number input with min and max values for “Age”.
Save your file, refresh your browser, and try submitting the form empty to see the built-in validation in action.
What’s Next?
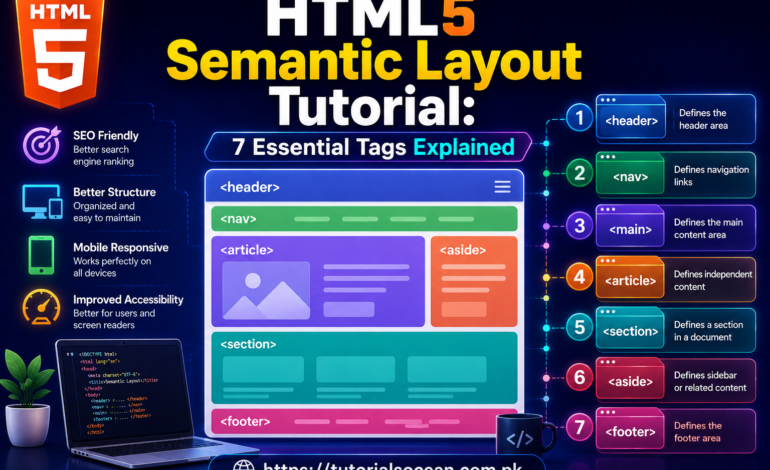
This completes Tutorial 5 of our HTML forms tutorial series. In Tutorial 6, we’ll cover HTML5 semantic layout — header, nav, main, section, article, and footer — to structure a complete real webpage.
This HTML forms tutorial is part of the complete HTML series on Tutorials Ocean — practical, beginner-friendly web development tutorials. Follow along and build real projects as you learn.