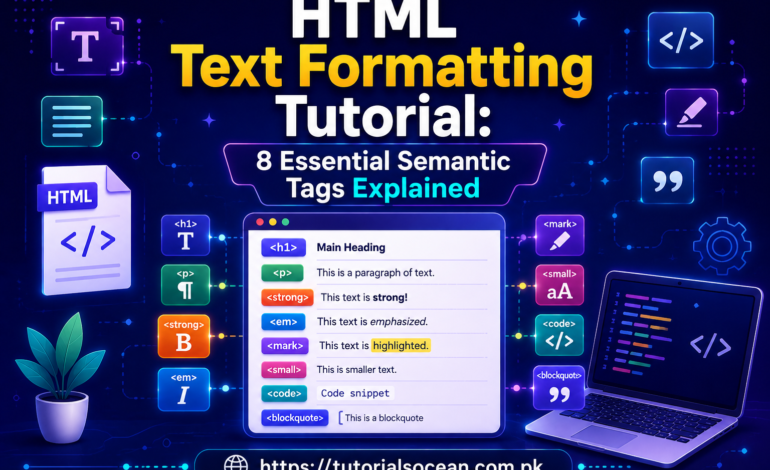


This HTML tutorial for beginners is where every developer’s journey starts. In this HTML tutorial for beginners, you’ll learn what HTML actually is, how a web page is structured, the most important beginner tags, and you’ll build your very first web page from scratch — with a practice exercise at the end.
This is Tutorial 1 of 8 in our complete HTML series on Tutorials Ocean’s HTML category. By the end of this series, you’ll have covered everything you need to build real, responsive web pages.
What is HTML?
HTML stands for HyperText Markup Language. It is not a programming language — it’s a markup language, which means it’s used to structure and organize content on a web page using tags.
Every website you’ve ever visited — Facebook, YouTube, Google — starts with HTML at its core. CSS makes it look good, JavaScript makes it interactive, but HTML gives it structure.
Think of HTML like the skeleton of a human body. CSS is the skin and clothes. JavaScript is the muscles that let it move.
The Basic Structure of an HTML Document
Every HTML file follows a standard structure. For the full official reference, you can check the MDN Web Docs HTML guide. Let’s break it down line by line for this HTML tutorial for beginners.
<!DOCTYPE html>
<html lang="en">
<head>
    <meta charset="UTF-8">
    <meta name="viewport" content="width=device-width, initial-scale=1.0">
    <title>My First Web Page</title>
</head>
<body>

    <h1>Hello, World!</h1>
    <p>This is my first web page.</p>

</body>
</html>
Line-by-line explanation:
| Tag | Purpose |
|---|---|
| <!DOCTYPE html> | Tells the browser this is an HTML5 document |
| <html> | The root element — everything goes inside this |
| <head> | Contains meta info (not visible on the page itself) |
| <meta charset=”UTF-8″> | Sets character encoding so special characters display correctly |
| <meta name=”viewport”> | Makes the page mobile-responsive |
| <title> | Sets the text shown on the browser tab |
| <body> | Contains everything visible to the user — text, images, buttons, etc. |
Important rule: Almost every HTML tag comes in a pair — an opening tag <p> and a closing tag </p>. Whatever is between them is affected by that tag.
Understanding Tags, Elements & Attributes
These three words confuse a lot of beginners, so let’s clear them up:
- Tag — the keyword itself, like <p> or <h1>
- Element — the tag plus its content, like <p>Hello</p>
- Attribute — extra information added inside the opening tag, like lang=”en” or class=”title”
Example:
<a href="https://tutorialsocean.com.pk">Visit Tutorials Ocean</a>- <a> is the tag
- href=”https://tutorialsocean.com.pk” is the attribute
- The whole thing together is the element
Essential Beginner Tags
Here are the tags you’ll use in almost every single web page:
<h1>This is a Main Heading</h1>
<h2>This is a Sub Heading</h2>
<p>This is a paragraph of text.</p>
<br>
<hr>
<div>A container/block for grouping content</div>
<span>An inline container for small pieces of text</span>- <h1> to <h6> — headings, <h1> is the biggest/most important, <h6> the smallest
- <p> — paragraph
- <br> — line break (no closing tag needed)
- <hr> — horizontal line/divider (no closing tag needed)
- <div> — block-level container, used constantly for layout
- <span> — inline container, used for styling small chunks of text
HTML Comments
Sometimes you want to leave a note in your code that the browser will ignore. Use comments:
<!-- This is a comment. It won't show on the webpage. -->Comments are useful for leaving notes for yourself or explaining code to others — great habit to build early.
Practice Exercise
Now it’s your turn. Create a new file called index.html and build a simple “About Me” page using only what you’ve learned in this post.
Requirements:
- Add a proper HTML boilerplate (doctype, html, head, body)
- Set the browser tab title to your name
- Add an <h1> with your full name
- Add an <h2> that says “About Me”
- Add two <p> paragraphs — one about your background, one about what you’re learning
- Add an <hr> divider
- Add a <p> at the bottom with your favorite quote, using a <span> around one word to highlight it (we’ll style it with CSS in a later post)
Bonus challenge: Add an HTML comment above your body content that says <!– About Me Section –>
Save your file and open it in your browser to see the result. If you get stuck, drop your code in the comments below or on our Facebook page — we’ll help you out.
What’s Next?
This completes Tutorial 1 of our HTML tutorial for beginners series. In Tutorial 2, we’ll cover HTML text formatting and semantic tags — bold, italic, lists, blockquotes, and the tags that help both users and Google understand your content better.
This HTML tutorial for beginners is part of the complete HTML series on Tutorials Ocean — practical, beginner-friendly web development tutorials. Follow along and build real projects as you learn.