

Welcome to this CSS basics tutorial. CSS stands for Cascading Style Sheets, and it’s what turns plain HTML into a styled, visually appealing website — colors, fonts, spacing, layout, all of it.
This is Tutorial 1 of 10 in our complete CSS series on Tutorials Ocean’s CSS category. If you haven’t already, check out our HTML series first, since CSS builds directly on top of HTML.
What is CSS?
HTML gives a webpage its structure. CSS gives it its style. Without CSS, every website would look like plain black text on a white background — no colors, no layout, no design.
Think of it this way: HTML is the skeleton, CSS is the skin, clothes, and makeup. This is the foundation every CSS basics tutorial builds on.
Three Ways to Add CSS
There are three ways to write CSS, and understanding the difference matters a lot in any CSS basics tutorial.
<!-- 1. Inline CSS -->
<p style="color: blue;">This text is blue.</p>

<!-- 2. Internal CSS -->
<head>
    <style>
        p { color: blue; }
    </style>
</head>

<!-- 3. External CSS (recommended) -->
<head>
    <link rel="stylesheet" href="style.css">
</head>| Method | When to Use |
|---|---|
| Inline | Quick one-off styling, but hard to maintain — avoid for real projects |
| Internal | Fine for single-page demos or testing |
| External | Best practice — separate .css file, reusable across multiple pages |
From here on, this CSS basics tutorial and the rest of the series will use external CSS, since that’s what real projects use.
CSS Syntax
Every CSS rule follows the same basic pattern — a selector, followed by a block of declarations.
selector {
    property: value;
    property: value;
}

/* Example */
p {
    color: red;
    font-size: 18px;
}- Selector — which HTML element(s) to style (like p, h1, or a class)
- Property — what aspect you’re changing (color, font-size, margin, etc.)
- Value — what you’re setting it to
- Each declaration ends with a semicolon, and the whole block is wrapped in curly braces
CSS Selectors
Selectors are how CSS knows which elements to target. This is one of the most important concepts in any CSS basics tutorial, so let’s cover the core types.
/* Element selector */
p { color: black; }

/* Class selector */
.highlight { color: orange; }

/* ID selector */
#main-title { color: green; }

/* Grouping selector */
h1, h2, h3 { font-family: Arial; }

/* Descendant selector */
div p { font-size: 14px; }| Selector Type | Syntax | Targets |
|---|---|---|
| Element | p | All <p> tags on the page |
| Class | .classname | Any element with class=”classname” |
| ID | #idname | The one element with id=”idname” |
| Grouping | h1, h2, h3 | Multiple selectors sharing the same style |
| Descendant | div p | Only <p> tags nested inside a <div> |
For the full official reference, check the MDN documentation on CSS selectors.
Class vs ID: When to Use Which
This confuses a lot of beginners, so here’s the simple rule: use an ID when styling one unique element on the page. Use a class when styling multiple elements that share the same look.
<h1 id="page-title">Welcome</h1>
<p class="highlight">Important note.</p>
<p class="highlight">Another important note.</p>
In practice, most developers rely on classes far more than IDs, since classes are reusable and more flexible.
CSS Comments
Just like HTML, CSS supports comments to leave notes in your code.
/* This is a CSS comment */
p {
    color: blue; /* This sets the text color */
}
Practice Exercise
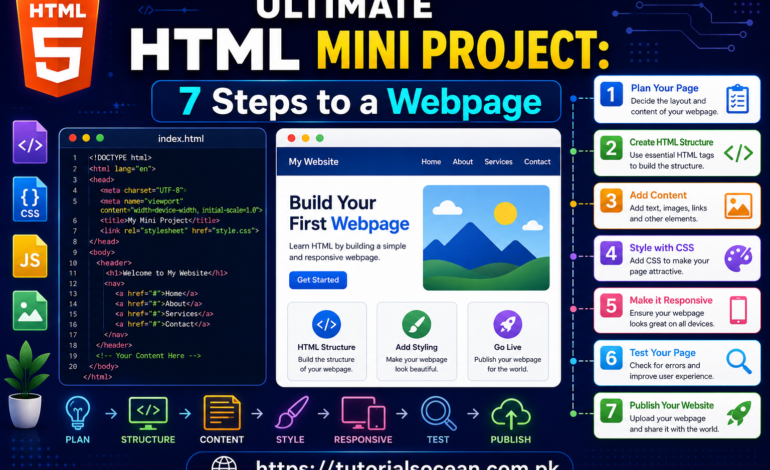
Take the index.html file from your HTML series project (or create a new simple page) and connect a CSS file to it.
Requirements:
- Create a new file called style.css and link it in your HTML head using the external method
- Write an element selector rule that changes the color of all paragraphs
- Add a class called .highlight that changes background-color and font-weight, then apply it to one paragraph
- Add an ID selector that styles your main heading uniquely
- Use a grouping selector to give all your headings (h1, h2, h3) the same font-family
Bonus challenge: Add a CSS comment above each rule explaining what it does — good documentation habit to build early.
Save both files, refresh your browser, and watch your plain HTML page start coming to life with color and style.
What’s Next?
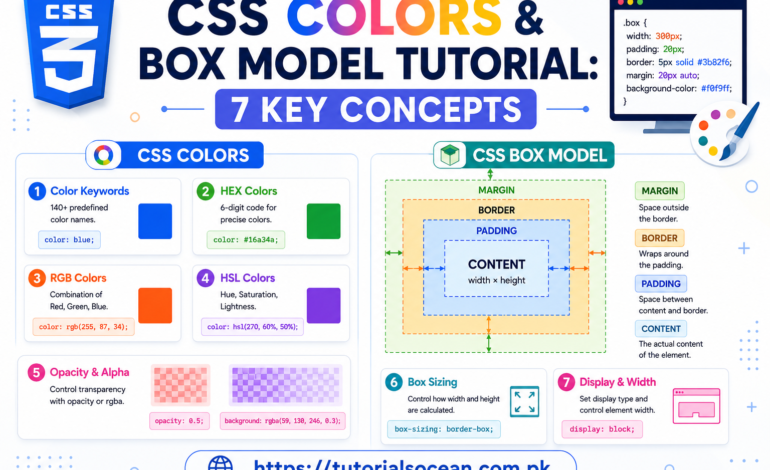
This completes Tutorial 1 of our CSS basics tutorial series. In Tutorial 2, we’ll cover CSS colors, units, and the box model — the foundation for spacing and sizing every element on a page.
This CSS basics tutorial is part of the complete CSS series on Tutorials Ocean — practical, beginner-friendly web development tutorials. Follow along and build real projects as you learn.