

Welcome to this CSS Flexbox tutorial. Flexbox is one of the most powerful and widely used layout tools in modern CSS — it solves alignment and spacing problems that used to require messy workarounds.
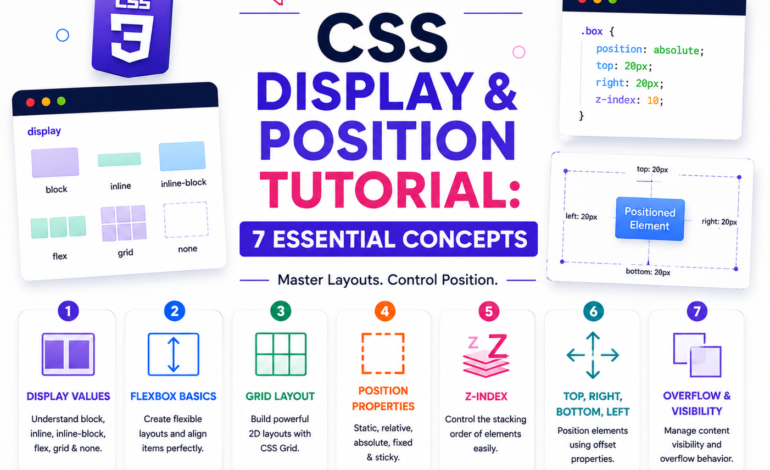
This is Tutorial 6 of 10 in our complete CSS series on Tutorials Ocean’s CSS category. If you missed it, check out Tutorial 5: Display & Position first.
What is Flexbox?
Every CSS Flexbox tutorial starts with the same idea: Flexbox is a one-dimensional layout system, meaning it arranges items in a single row or a single column at a time.
It was designed to make alignment, spacing, and ordering of items inside a container simple — things that were painful with older CSS layout methods like floats.
Creating a Flex Container
.container {
    display: flex;
}
That single line is the starting point of any CSS Flexbox tutorial. Once display: flex is applied to a parent, all its direct children automatically become “flex items” and line up in a row by default.
flex-direction: Row or Column
.container {
    display: flex;
    flex-direction: row;
}

.container-vertical {
    display: flex;
    flex-direction: column;
}| Value | Behavior |
|---|---|
| row | Items line up left to right (default) |
| row-reverse | Items line up right to left |
| column | Items stack top to bottom |
| column-reverse | Items stack bottom to top |
justify-content: Horizontal Alignment
This property controls how items are spaced along the main axis — a core concept in any CSS Flexbox tutorial.
.container {
    display: flex;
    justify-content: center;
}| Value | Result |
|---|---|
| flex-start | Items packed at the start (default) |
| flex-end | Items packed at the end |
| center | Items centered |
| space-between | Equal space between items, none at the edges |
| space-around | Equal space around each item |
| space-evenly | Perfectly equal space everywhere, including edges |
align-items: Vertical Alignment
.container {
    display: flex;
    align-items: center;
    height: 300px;
}| Value | Result |
|---|---|
| stretch | Items stretch to fill the container height (default) |
| flex-start | Items align to the top |
| flex-end | Items align to the bottom |
| center | Items align to the vertical center |
Simple trick worth remembering from this CSS Flexbox tutorial: justify-content controls the main axis, align-items controls the cross axis. In a row layout, that means justify-content is horizontal and align-items is vertical.
For the full official reference, check the MDN documentation on Flexbox.
flex-wrap: Handling Overflow
.container {
    display: flex;
    flex-wrap: wrap;
}
By default, flex items try to squeeze onto a single line, shrinking as needed. Setting flex-wrap: wrap allows items to move onto new lines instead of shrinking endlessly — essential for responsive card grids.
Controlling Individual Items: flex-grow, flex-shrink, flex-basis
.item {
    flex-grow: 1;
    flex-shrink: 1;
    flex-basis: 200px;
}

/* Shorthand */
.item {
    flex: 1 1 200px;
}| Property | Purpose |
|---|---|
| flex-grow | How much an item grows relative to others when extra space is available |
| flex-shrink | How much an item shrinks relative to others when space is tight |
| flex-basis | The item’s starting size before growing or shrinking |
The gap Property
.container {
    display: flex;
    gap: 16px;
}
Before gap existed, developers used margins on individual items to create spacing, which often caused uneven edges. gap solves this cleanly in one line — a modern addition covered in nearly every up-to-date CSS Flexbox tutorial.
Practice Exercise
Open the style.css file from Tutorial 5 and build a Flexbox layout.
Requirements:
- Create a navigation bar using display: flex with justify-content: space-between
- Build a row of 3 “card” elements using flex-wrap: wrap and gap
- Center a single element both horizontally and vertically inside a container using justify-content and align-items together
- Give one card a flex-grow: 2 so it takes up more space than the others
- Create a column layout using flex-direction: column for a simple sidebar
Bonus challenge: Build a responsive image gallery using flex-wrap and gap, and resize your browser window to watch it reflow automatically.
Save your file, refresh your browser, and resize the window to see your Flexbox layout adapt in real time.
What’s Next?
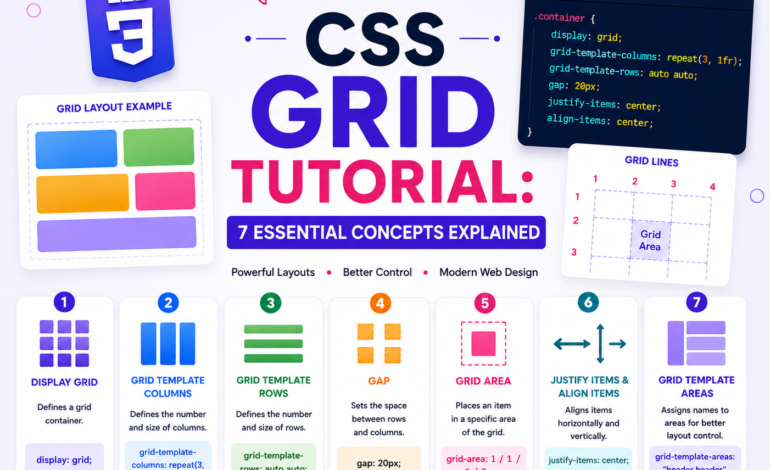
This completes Tutorial 6 of our CSS Flexbox tutorial series. In Tutorial 7, we’ll cover CSS Grid — a two-dimensional layout system that works alongside Flexbox for building complete page layouts.
This CSS Flexbox tutorial is part of the complete CSS series on Tutorials Ocean — practical, beginner-friendly web development tutorials. Follow along and build real projects as you learn.